
Pumpkin carving is one of the best ways to embrace the Halloween spirit. Whether you’re carving just one funny face or a host of ghoulish gourds to place on your porch, this guide will help you get started and understand the basics of carving a pumpkin without making an enormous mess.
Knowing how to carve a pumpkin is important so you stay safe (the tools are definitely sharp) and end up with a jack-o’-lantern that turned out exactly how you’d hoped.
Read on to learn how to carve a pumpkin step-by-step and get inspired with a few ideas for lighting it up at night.
Before You Begin
Before you start carving your pumpkin, you’ll want to pick out a design that you like the look of.
- For beginners, we recommend choosing a simple design with few complexities. The more comfortable you get carving pumpkins, the more adventurous you can be.
- More experienced carvers can experiment with complicated designs, like those that involve using chunks of pumpkin or mini pumpkins to create more elaborate displays.
Carving pumpkins can also be messy. To keep it as clean as possible, lay down plenty of newspaper or towels and wear clothes that you don’t mind getting a little gourd slime on.
Warning
To carve a pumpkin, you’ll be working with knives. Use caution and take your time while carving, and when doing this activity with children, adults should supervise.
Tools & Materials
How to Carve a Pumpkin
Ready for a little Halloween fun? Once you have your supplies, follow these steps to carve a wonderfully witchy design.
-
Choose a Pumpkin
You can really carve a pumpkin of any size, but too tiny or too large of a gourd may feel a little more complicated and create extra work.
We recommend a medium-sized pumpkin of any variety around 10 to 20 pounds. Look for one that’s firm all the way around. A longer stem can also be helpful for taking the top on and off.
The Spruce / Melissa Epifano
-
Lay Down Newspaper
Choose the surface you’ll be carving on and cover it in newspaper or a plastic tablecloth that you can throw out once you’re finished. You can also choose to use old towels, which can be washed and reused.
The Spruce / Melissa Epifano
-
Cut a Hole
- Start by taking your long kitchen knife or the knife in your pumpkin carving set and saw a jagged hole either around the stem or in the back of the pumpkin.
- A hole in the top is best for real candles as the smoke can escape and you have a helpful handle thanks to the stem. A hole the back is easier for placing lights or faux candles.
- Carefully pop the top off or back out and set it to the side. You’ll want to hold onto this for later.
The Spruce / Melissa Epifano
-
Clean Out the Inside
- Now for the slimy and fun part. Use your hands or a wooden spoon to start scraping out the orange pulp.
- A wooden or plastic spork can also be very helpful as it has tines that can scrape the sides.
- You can gather up pulp in the inside then flip the pumpkin upside down and empty it out as you go.
- Discard the stringy pulp into your bowl to keep the mess as minimal as possible. (You can even save the seeds and clean them later to use them for cooking!)
The Spruce / Melissa Epifano
The Spruce / Melissa Epifano
The Spruce / Melissa Epifano
-
Prick On or Trace Your Design
- You can freehand your own design or choose a premade option. There are tons of pumpkin design ideas out there.
- Wipe any slime or moisture off your pumpkin with a paper towel, then place your paper design on whichever part of the pumpkin you’d like to face outwards.
- You can tape the design in place or simply hold it with one hand.
- Then, using a toothpick or the gouge tool, you can poke holes around the perimeter of your design. You can also use transfer paper to draw the design directly onto the gourd.
- Once you’re happy with it, pull the paper off.
The Spruce / Melissa Epifano
-
Carve Your Design
- Start carving your pumpkin design. Take your time and rely on your smaller paring knife (or small serrated knife in your kit) for more intricate designs, and your larger knife for taking bigger chunks out of your pumpkin.
- When you cut larger portions out, you can place your hand in the pumpkin and push the chunks out or push them inwards into the pumpkin and take them out.
- It’s sometimes helpful to carve from your lap (just lay newspaper or a towel across your legs), as you have more control and the pumpkin won’t roll as much.
The Spruce / Melissa Epifano
The Spruce / Melissa Epifano
-
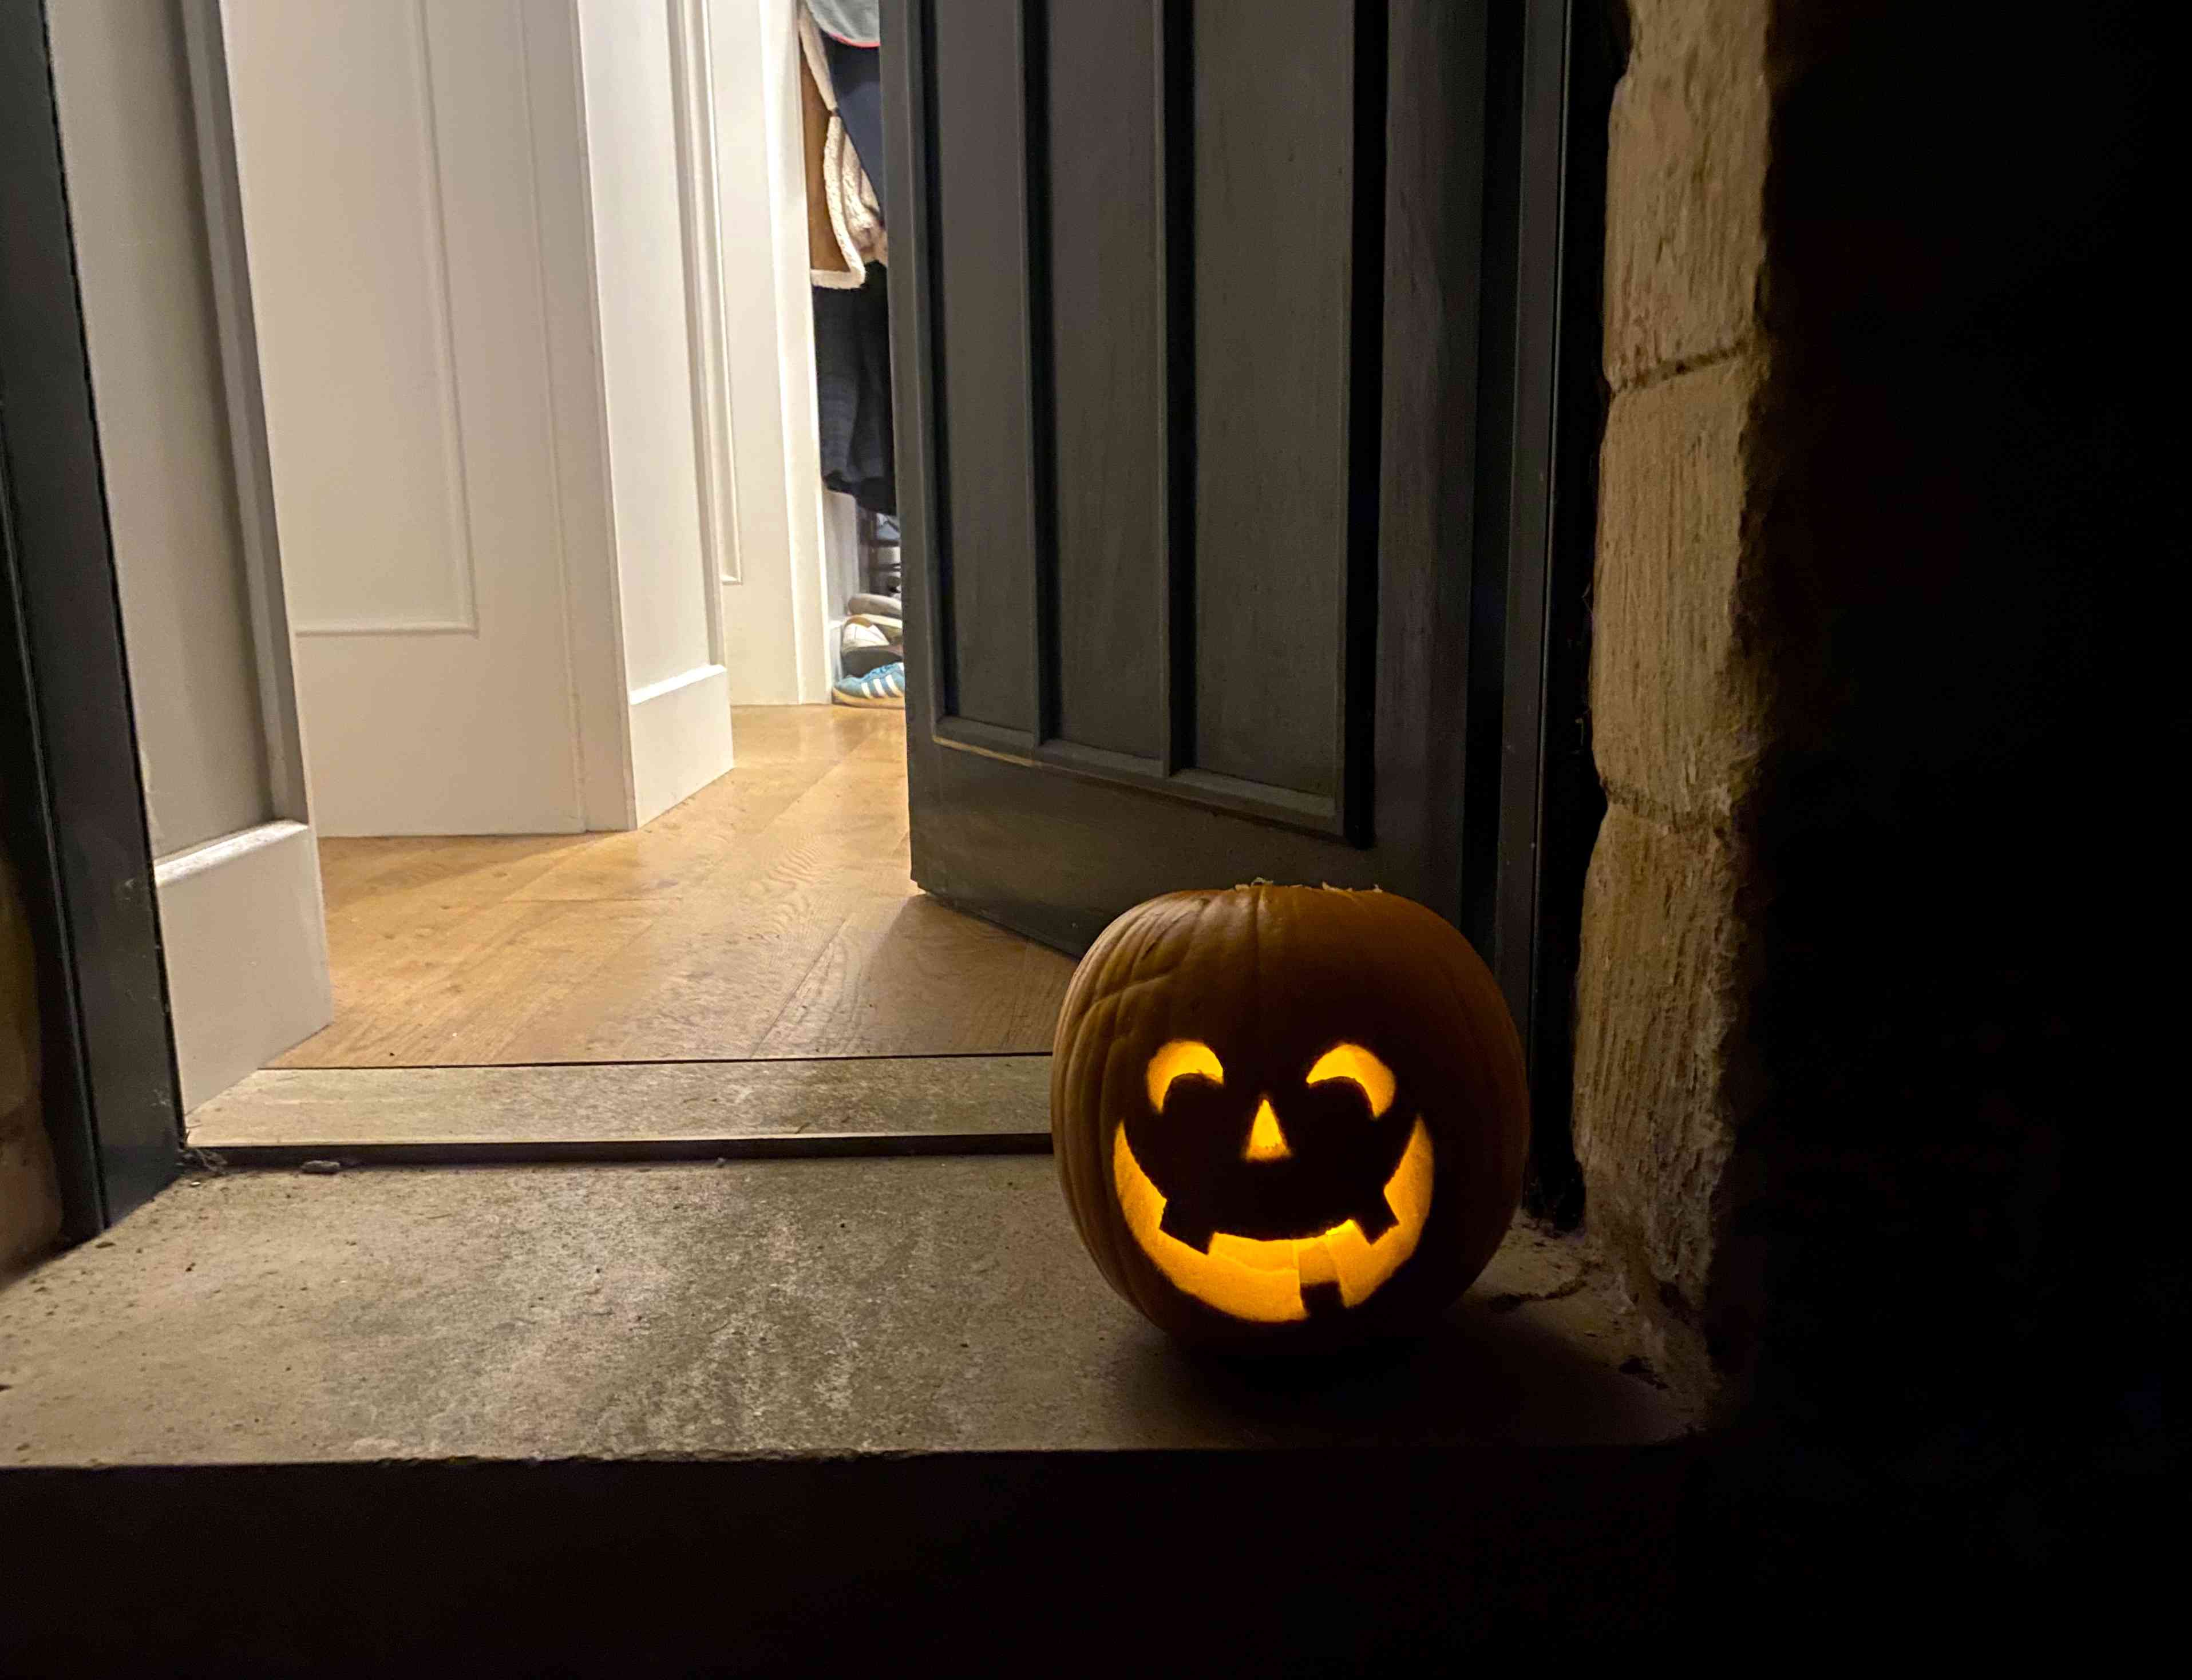
Light Your Pumpkin
- There are many different ways you can light up your pumpkin and make your design glow every evening on the countdown to Halloween. The most traditional option is a real candle, but these do present a safety hazard and are prone to blowing out in the wind.
- Another choice are battery-operated candles, which provide the same flicker, are safer, and can be set on a timer.
- String lights can also help your pumpkin shine. For creepier pumpkins, consider red lights or different colors.
The Spruce / Melissa Epifano
FAQ
-
Carve on a sturdy, stable surface that won’t wobble and use newspaper or a disposable tablecloth for easy clean-up. It’s best to start with simpler designs if you’re a beginner and use a large wooden spoon or metal ladle to scoop out the pulp.
-
Serrated knives, narrower kitchen knives, and paring knives are useful for carving a pumpkin. There are also special kits you can purchase that have knives and tools specific to carving that will make the process easier.
-
A kit is helpful for carving and finishing small details and usually has tools that are easier to maneuver than a kitchen knife. However, having one is not necessary. Items from your kitchen, like toothpicks, knives, and spoons are all you need to carve a pumpkin successfully.
Get the best products from Amazon