:max_bytes(150000):strip_icc():format(jpeg)/hand-spreading-grout-on-tiles-with-grout-spreader-80033352-583c5e073df78c6f6a2f22b6.jpg)
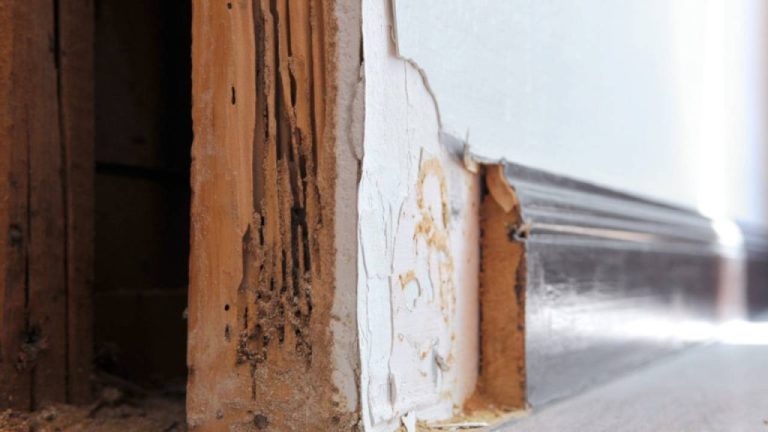
Grouting mistakes make your tile project look less than perfect—despite all of your hard work. Common errors include adding too much water to the grout mix, holding the grout tools wrong, and neglecting timing.
Install professional-looking tiles by learning from these common grouting mistakes.
Using the Wrong Grout
Using the wrong type of tile grout for the tile joints can lead to cracked grout or air pockets. The grout might be too coarse for thin joints, scratch delicate tile surfaces, or not pack into the tile joints well.
Solve this grouting mistake by choosing the correct grout material: sanded vs. unsanded tile grout.
- Sanded grout: Sanded tile grout contains fine sand. Use sanded grout for tile joint lines over 1/8-inch wide. The sand provides a tight, solid joint. But don’t use it on delicate tiles, like honed stone or glass tile, as it will scratch.
- Unsanded grout: Unsanded tile grout contains no sand. Use unsanded grout for thin joints less than 1/8-inch wide and for tiles that might be scratched by sanded grout.
Want more home reno project tips and inspiration? Sign up for our free daily newsletter for the latest how-tos, reno guides, and more!
Mixing the Grout by Hand
Properly mixed tile grout should be smooth and creamy. However, it’s difficult to mix dry grout by hand and achieve the right consistency.
Dry grout is too heavy to stir by hand, resulting in air pockets and dry clumps. Chunky grout with air voids doesn’t spread smoothly across the tile surface, and more importantly, it won’t pack solidly into the tile joints.
The solution is to mix tile grout properly with the right tools: a mixing paddle fastened to a strong electric drill with a side grip:
- Mixing paddle: Use a grout mixing paddle with an eggbeater-style (cross-shaped) end. The long 16- to 24-inch shaft easily reaches into deep buckets.
- Electric drill: Use a corded or cordless electric drill. Most corded electric drills are strong enough to churn the heavy grout. If you use a cordless drill, make sure it has enough power. The best cordless drill for mixing grout will be 18V or 20V.
- Side grip: Use a drill with an attachable side-handle grip for stability.
Adding the Wrong Amount of Water
Grout mixed with too much or too little water won’t spread well. Excess water in grout will weaken the grout and lead to cracking and shrinkage. Eventually, you may need to regrout the tile.
Mix dry grout and water in the correct ratio. Consult the instructions on the grout bag or the grout’s technical data sheet (TDS), which can be found on the manufacturer’s website. For sanded grout, you’ll generally use 2-1/2 ounces of water per pound of dry grout.
Common grout-to-water mixture ratios for sanded grout:
| Grout Powder | Water |
| 1 pound | 2-1/2 ounces |
| 5 pounds | 13 ounces |
| 10 pounds | 26 ounces |
| 25 pounds | 64 ounces (2 quarts) |
The mixture should have the consistency of smooth peanut butter. If it is too lumpy, gradually add small amounts of water. If it is too watery, tap some dry mixture into the bucket and continue to mix. If it’s still not the right consistency, dispose of the batch and start again.
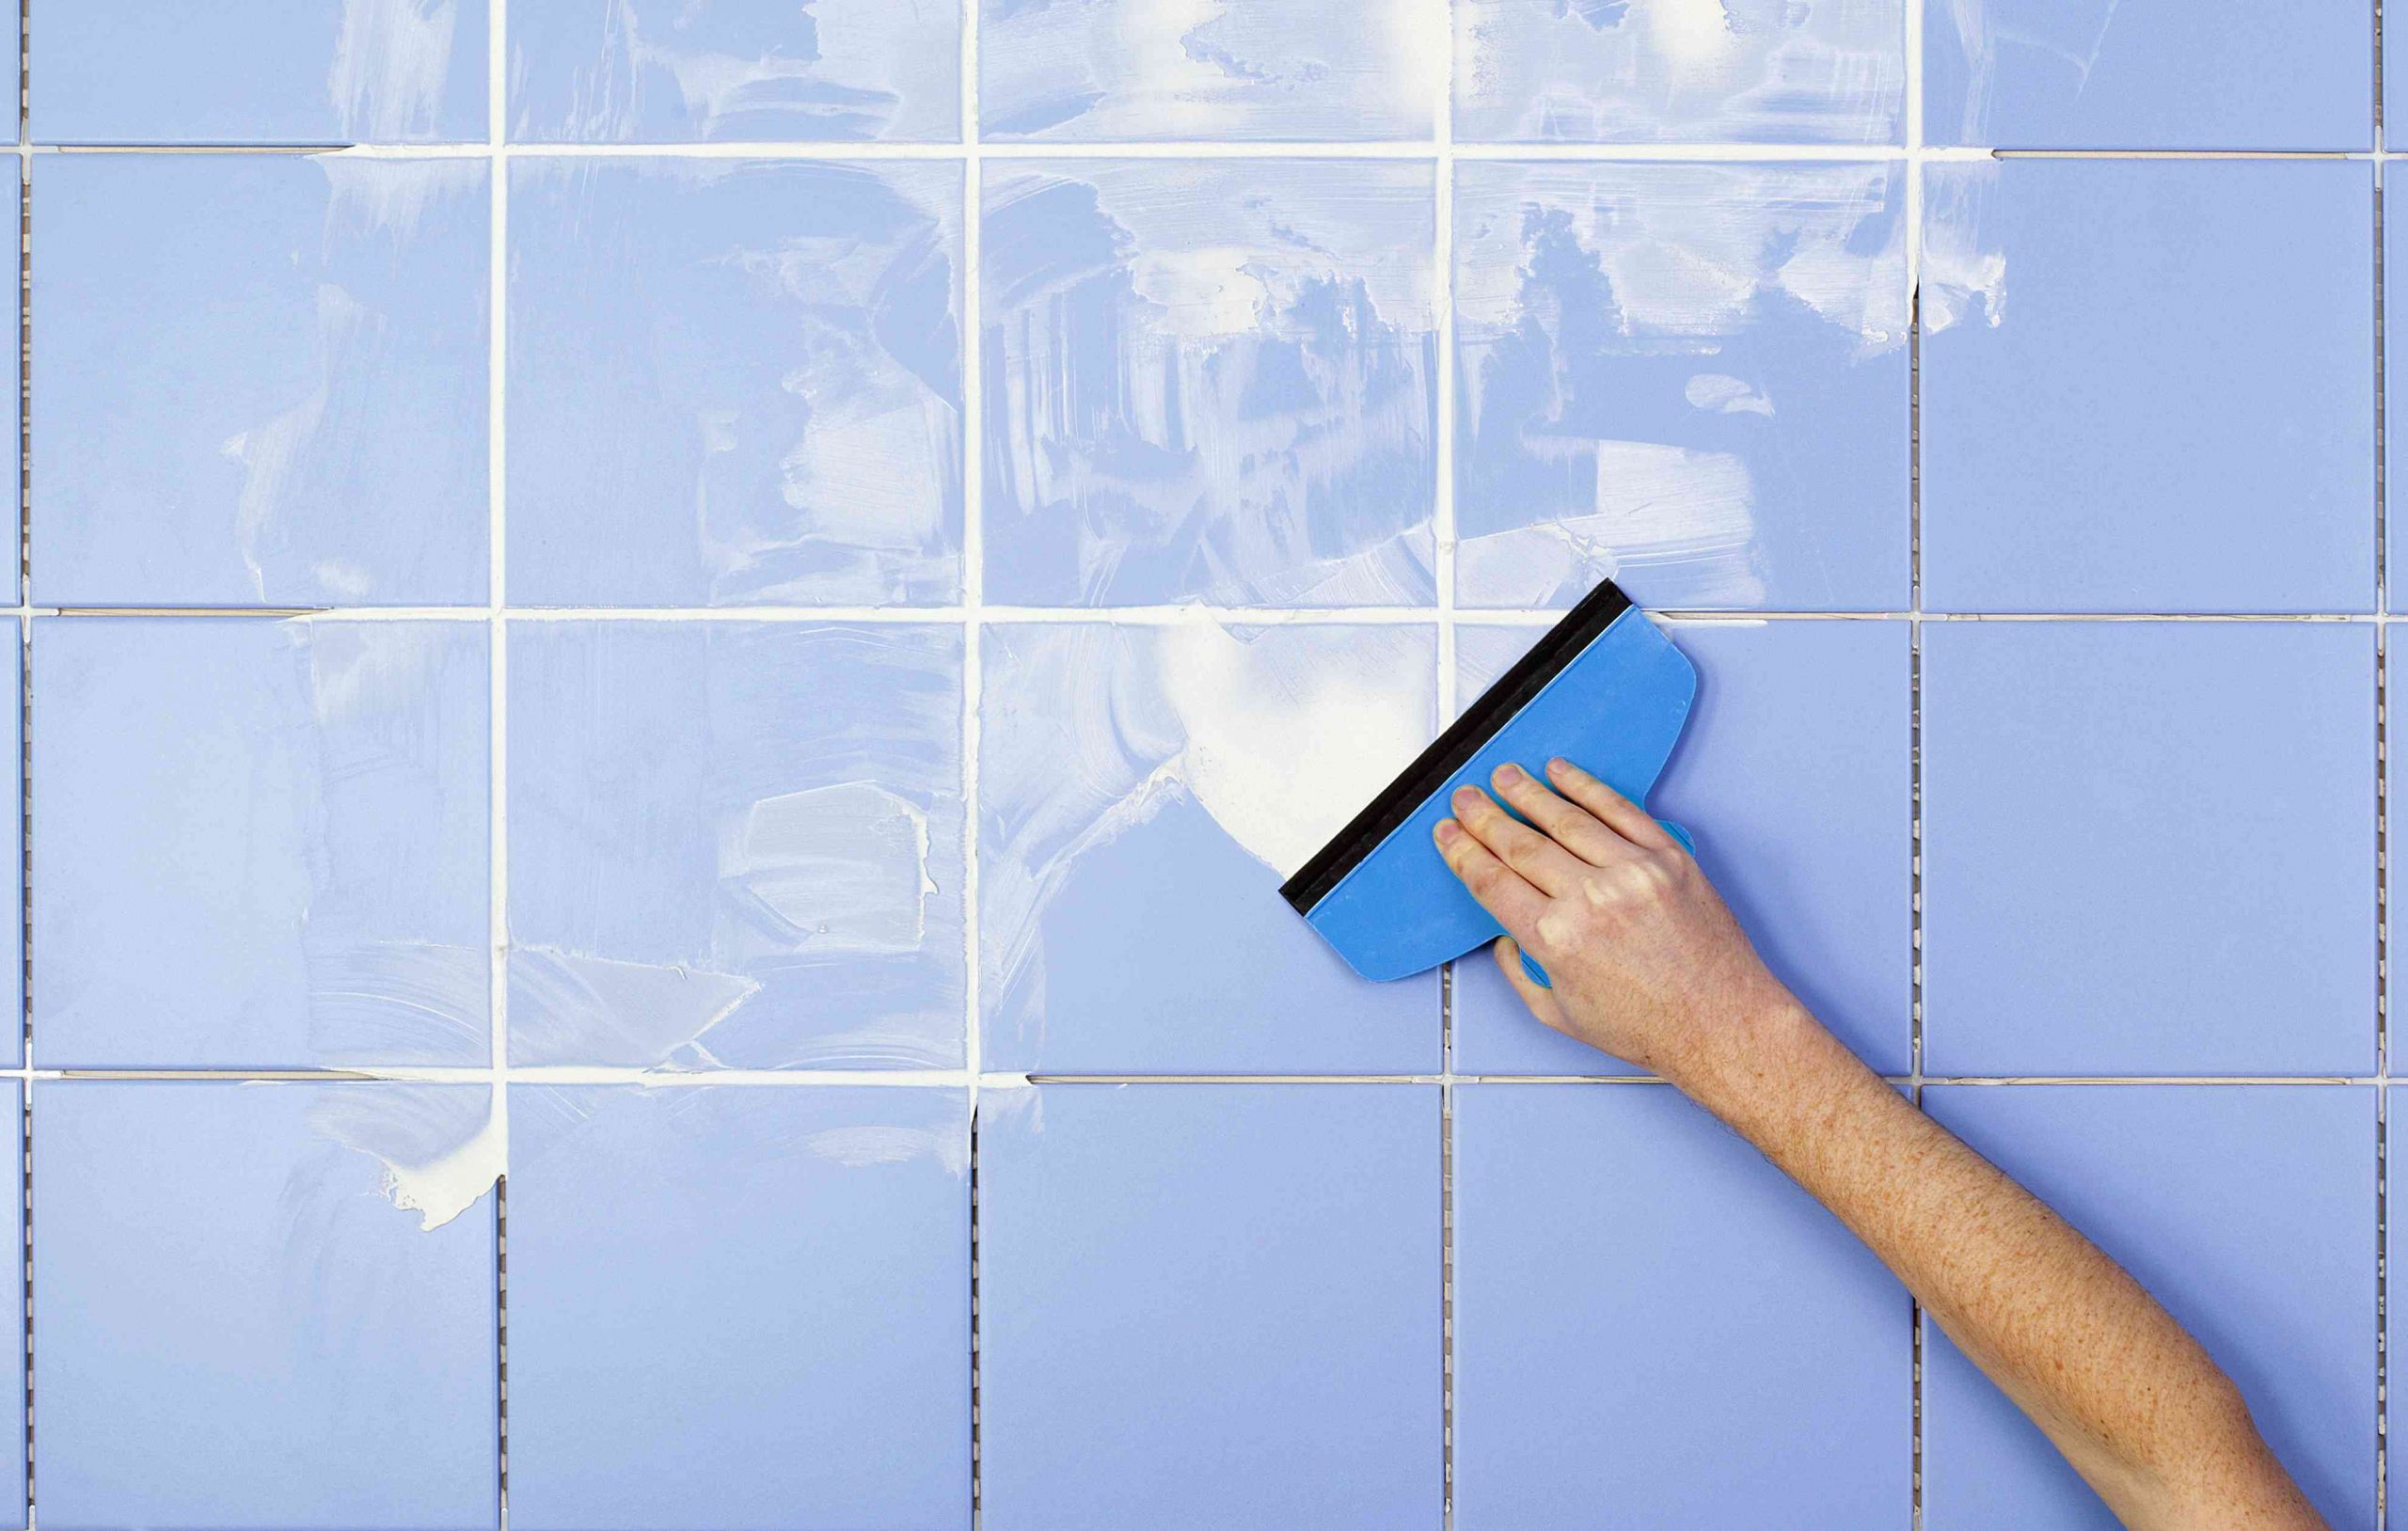
Spreading Grout in the Wrong Direction
Moving the grout float over the tile in the wrong direction will create gaps or inadequately fill the joints. When you move the float parallel to the grout lines, the edge of the float will dig out the grout.
What Is a Grout Float?
A grout float is a tiling tool for spreading grout across tiles and into tile joints. It is rectangular-shaped and has a handle on the top. The soft bottom is made of silicone or rubber.
This common grouting mistake is easy to fix by turning the float diagonal to the tile joint lines.
Spread the grout in a long sweep with the float moving at a 45-degree angle to the joints. This allows the float to bridge the joints, preventing the edge of the float from falling into the joint and removing the grout.
Spreading the Grout Unevenly
Tile grout spread unevenly makes the tile look old and dated, even if it’s new tile. This grouting mistake ruins the look of clean, precise joint lines. Over time, debris builds up in low grout joints. Worst of all, uneven grout weakens the entire tile installation, limiting lifespan.
To avoid uneven grout:
- Set up a work light at a low angle so you can see the grout better.
- Spread the grout at a consistent pressure.
- Practice pulling your grout float across a dry surface before doing so with grout.
- Maintain the float’s proper angle, with one edge of the float tilted upward at 45 degrees.
- Move the grout float diagonally across the tiles.
Holding the Float at the Wrong Angle
Spreading grout across the tile surface depends on holding the grout float at the correct angle. If you hold the float vertically or close to vertical, the float jumps across the tile and won’t pack the grout in the joints well. It also digs grout out of the joints.
But if you hold it too close to horizontal, you push deposited grout out of the joints, and you end up with too much grout on the tile faces.
To avoid this common grouting mistake, hold the float at the correct angle: 45 degrees to the tile surface. One edge of the float should touch the tile. The other edge should be raised halfway between vertical and horizontal—or, 45 degrees.
As you sweep the float across the tile, your hand tends to change its angle. So, practice a few sweeps and keep the float at 45 degrees for the entire stroke.
Cleaning Too Vigorously
After spreading the tile grout, scrape off the excess with the float. The remaining thin film of grout is cleaned off with a damp sponge. Though it may seem simple, this is tricky because too much pressure will scrape out the grout, leading to uneven grout.
To clean grout from the tile:
- Clean up immediately; don’t let the excess dry out.
- Dip the sponge in water, then squeeze it out until it’s damp.
- Frequently change the water.
- Apply light pressure with the sponge.
- Work in a circular motion.
Timing It Wrong
Precise timing helps your tilework look professional. Poor tile grout often results from neglecting timing, exceeding time limits, or starting steps too early.
The solution is to know the tiling schedule. To avoid guesswork, watch the clock or set a timer on your phone or watch.
- Grout rest time after mixing: After mixing, grout needs to sit undisturbed for 10 minutes before use. This rest period is called slaking.
- Grout after installing tile: Wait 24 hours for thinset mortar to fully dry before grouting. For tile adhesives, wait 48 hours.
- Clean excess grout with sponge: Wait no more than five or 10 minutes.
- Clean grout haze: Wait at least 24 to 48 hours and no more than 10 days to clean grout haze from the tile surface.
Tile Grouting Do’s and Don’ts
Follow these do’s and don’ts for flawless tile grout:
-
Use pre-mixed grout if you have trouble mixing dry grout.
-
Work in small sections.
-
Maintain constant pressure on the grout float.
-
Clean excess grout soon after application.
-
Grout before the tile is fully set.
-
Mix more grout than you can use in a session.
-
Rush your project, especially if you’re new to tiling.
-
Leave grout on your tools—clean immediately.
FAQ
-
You can add new grout over old grout as long as the grout is at least 1/8-inch deep and in good condition.
-
You can smooth the grout after it dries by mixing 1 cup of hot water with 1 cup of sugar and applying it to the grout with a cloth or brush. After 15 minutes, rub out the softened grout with a sponge and reapply the grout. This only works for relatively new grout. Older, fully cured grout must be scraped out and reapplied.
-
You can hide uneven grout lines in two ways. If the tile has been installed but has no grout yet, choose a grout that’s the same color as the tile. If the tile already has grout, change the grout color to closely match the color of the tile.
Get the best products from Amazon